Darlings!
Does it ever happen to you that you have dry and tight skin? Does it happen that dry skin patches make it impossible to create the perfect make-up? I feel you and I know the cause of it – flaking epidermis is to blame here and you should support its renewal with, e.g. exfoliators.
That is why today’s post is entirely dedicated to exfoliation. I observed that we tend to do it way too rarely. We think of exfoliators as something additional, something you can (but don’t have to) do. In the meantime, the at-home exfoliator is a treatment you SHOULD do at least once a week. Why? I will talk about it and other interesting facts about exfoliators below.
Exfoliation. What is it about?
Our skin – not only on the face but also on the entire body – renews every month on average. The top layer of the skin withers and is being replaced with healthy cells. The exfoliation is called the process when dead skin cells ‘flake away’. It can obviously occur naturally, but in my opinion, you should help the exfoliation process with, for example, peels or acids. There numerous factors that make natural skin flaking more difficult than it should be so it is best to invest in an exfoliator and discover this young, regenerated, and beautiful skin underneath.
How does an exfoliator work?
You can try a mechanical exfoliator (with smaller or bigger abrasive particles) or chemical peels (based AHA acids). No matter the type of exfoliator you use, the effect will always be similar because, the good exfoliator:
- supports natural epidermis exfoliation,
- ensures skin with incredible smoothness,
- improves microcirculation in the skin and revitalizes,
- lessens skin imperfections,
- stimulates the skin to renew and makes it supple.
Exfoliator. Homemade or ready product?
Here comes the most frequent dilemma when discussing exfoliators. Should you get a ready face gel with abrasive particles or should you prepare your own exfoliator with natural oil?
Personally, I adore homemade exfoliators because those are really easy to prepare, are cheaper, and give you the possibility to use a different mix every day. The process of preparation is also something that I like about homemade cosmetics because it’s really fun. Nonetheless, if you decide to go for drugstore products, the effect will also be great. I tend to think of it as an option for lazy people. 🙂
DIY recipes for face exfoliators
However, if you are keen on trying your skills in making your own homemade exfoliators, I have two simple recipes for you that I tend to use quite often. Enjoy!
1. Almond face exfoliator
- 1 teaspoon of chopped almonds
- 2 teaspoons of plain yogurt
- 1 teaspoon of honey
It is a perfect exfoliator for sensitive and dry skin because yogurt holds calming properties while honey is a natural humectant. The abrasive role here is fulfilled by almonds that you need to chop beforehand. Once all ingredients are mixed, you just need to apply it to the face and massage the skin for a few minutes – gently but purposefully. Once you cleanse the skin, it will be smooth and supple.
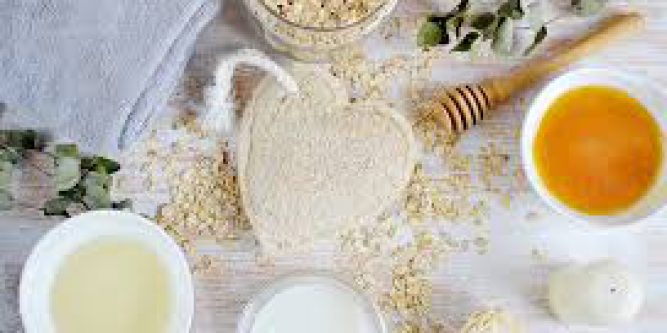
2. Oat flakes face exfoliator
- 3 tablespoons of ground oat flakes
- 1 tablespoon of oil, e.g. almond
- 1 teaspoon of honey
Another proposition is based on oat flakes that after grinding will not only beautifully exfoliate the skin but will also nourish the skin. You can use almond, jojoba, argan, or other oil that matches your skin needs while honey will obviously be the moisturizing component. You should mix the oat flakes with oil and honey and then set it aside for a few minutes so that the oat flakes can puff up. The created paste should be used just as a regular exfoliator – apply to the face, massage the skin for a few minutes in a circular motion and then rinse down.


